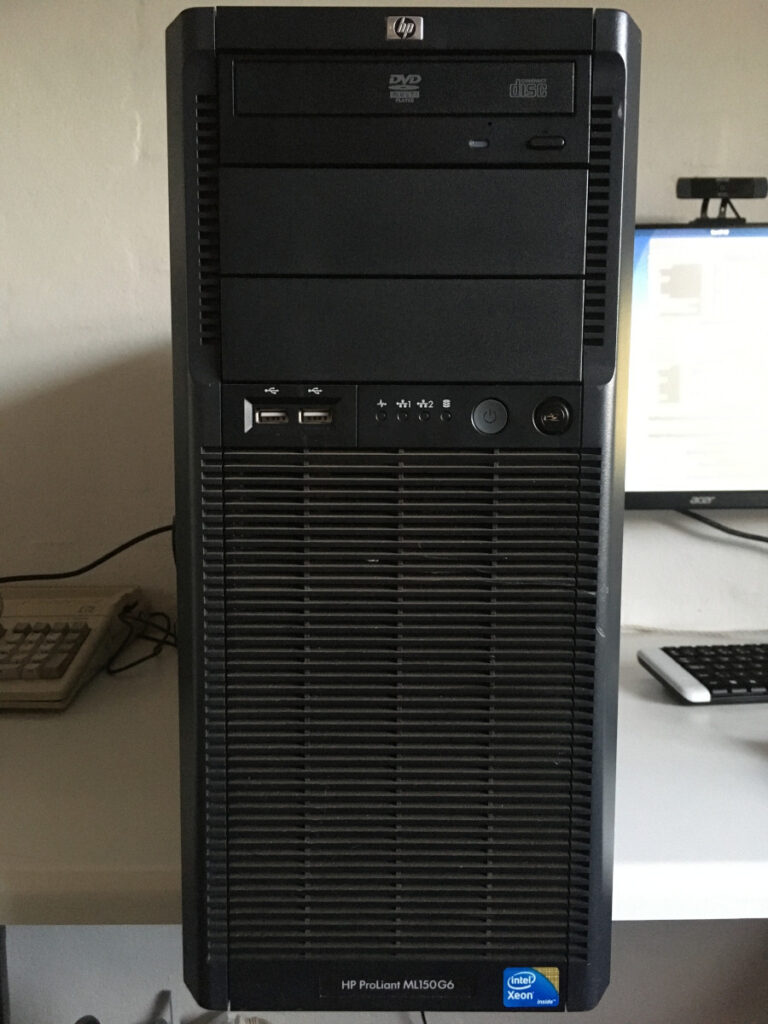
Having a Home Server enables you to host locally your files and services. It might save you some money subscribing to paid (cloud) solutions. And enable you to try out cool things like containers and Virtual Machines. In this post I will document how I setup my current Home Server. I am using an old HP Proliant ML150 G6 I was given. This is a 5U tower server from 2009 with a Dual CPU motherboard.
Server Hardware
When I got it, it had 2 x 2 GB of RAM, 2 x Xeon E5504 (quad core) processors, an HP SmartArray P410 8x SAS/SATA raid controller and 4 x 500 GB Seagate Constellation ES 7200 RPM drives sitting in a 4x SAS/SATA Hotplug Drive bay. The storage was setup as a RAID 1+0 setup with a Windows Server (2008?) installed. In addition to the P410 there are 6 SATA connections on the motherboard. Two of these (SATA5 and SATA6) are labeled “Optical drives”. A DVD-ROM drive is connected to SATA5. Although it has 2 CPUs, it only came with one CPU cooler tower, so I am running it with just one CPU.
I wanted to run Linux on this server, so I took a 120 GB SSD and connected it to the onboard SATA controller. I also added a Western Digital 1 TB 3.5" spinning drive that contained some of the files from my previous server.
OS installation
I tried to install Debian from DVD but the DVD-ROM Drive would not read the media i tried. I am probably going to remove it to make room for additional spinning drives. Installing Debian 10 (Buster) was straight forward from a USB stick. I opted to install using the automatic partitioning scheme with 1 root file system 107.8 GB and a 4 GB swap file both on the SSD.
The installer setup the root file system as ext4 but I changed that to btrfs before actually writing the changes. Admittedly I did not research this choice thoroughly. I chose btrfs assuming that as it is a newer filesystem, it would be better suited for an SSD. After the installer completed and the system rebooted, I added the 1 TB backup drive to a /mnt/backup mount point
I kept the RAID 1+0 configuration of the installed spinning drives and partitioned and formatted them as one ext4 partition mounted as /home. Due to my limited research I did not want to risk setting this up as a btrfs on top of a RAID controller. I was planning to access the individual drives at a later date to make a btrfs array. This setup was solid and rather fast - transferring files to and from Windows via Samba on a wired ethernet connection at around 200 Mbit/s.
Storage considerations
Setting up a Home Server for me is first and foremost about storage. The ability to store files off my main machine so that I can share it with other devices on the local network. The first order of business for me is to achieve that. And for that to happen, I need expandable storage space.
Around this time I started listening to the Self-Hosted show by Alex Kreztschmar and Chris Fisher. I had heard about ZFS but had discounted it due to the high cost of adding hard drives to expand your storage. But I also found that btrfs while having cool features with regard to adding drives to the storage pool, is not quite up to scratch when it comes to non-mirror, redundant pools.
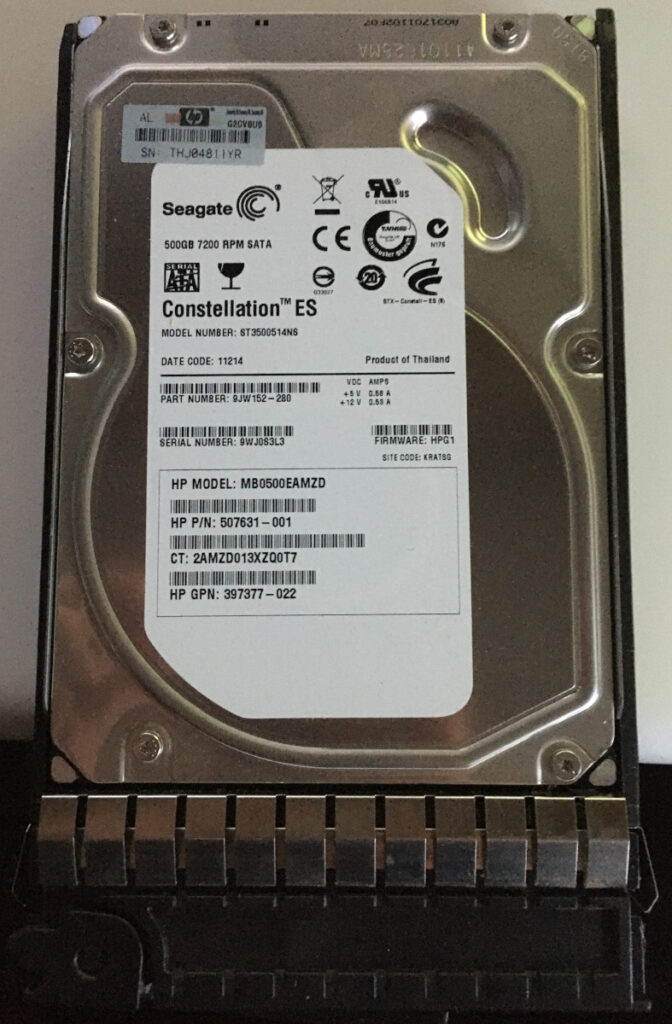 Currently the ZFS setup is on 5 x 500 GB spinning Hard Drives, the 4 original HP labelled Seagate Constellation ES 7200 RPM 3.5" drives and a Hitachi 5400 RPM 2.5" laptop drive. Needless to say the latter is struggling in the array. What may or may not compound this, is that the 5 drives are connected through 2 different controllers. 2 of the Seagate Constellation ES drives are on the HP SmartArray P410 SAS RAID controller. The remaining 3 drives are on the onboard SATA controller.
Current Home Server setup
I try to keep an up-to-date description of my Home Server setup - it may have progressed since the publication of this post.
What’s next
Setting up a Home Server has been - and is - a great learning experience for me. There are a few things I would like to achieve in the future.
I have not made any descriptions on how I installed and setup ZFS, NFS and Samba - I plan to do those at a later point in time.
Docker is another subject I will be looking into. This machine will be running services including Plex.
Home Assistant is another area I am looking to explore. It might run in a container on this Home Server. Or I might dedicate a Raspberry Pi to do that.
I have a few upgrades planned. Some are in the very near future, others are a little further away.
On my desk is a 512 MB Write Cache module for the HP FastArray P410. I am hoping that will make a speed improvement by itself. It will hopefully allow me to move all drives of the current ZFS RAIDZ pool to the P410. And make room for future drives to be added to the pool.
I have ordered more memory which will help the ARC (Adaptive Replacement Cache) - the ZFS Read Cache. How that will translate to NFS and Samba I am not sure.