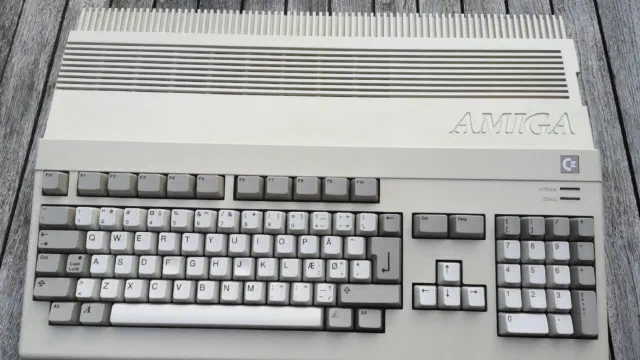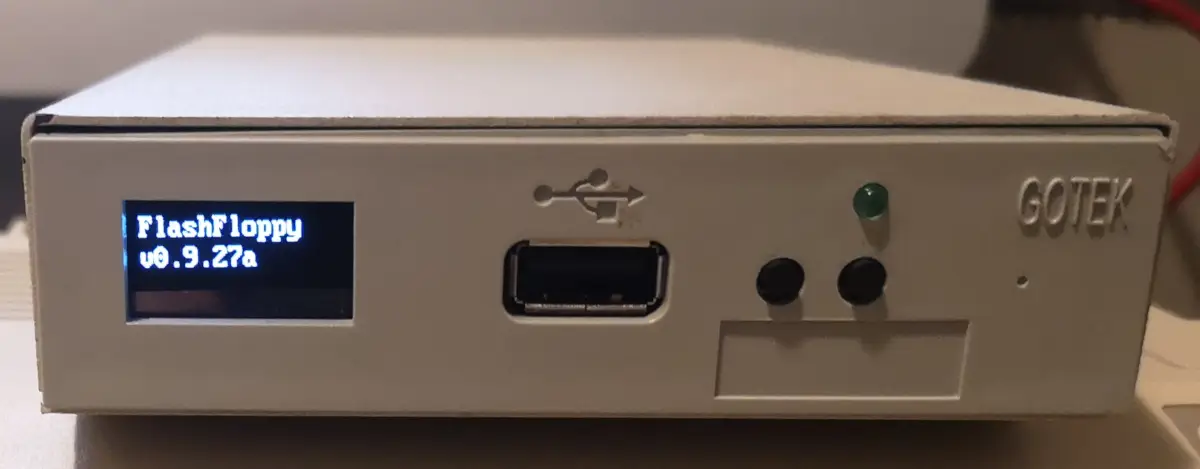
The Amiga 500 and Amiga 600 relies heavily on their builtin 3.5 inch 880 KB floppy drives. Unfortunately these drives and the floppy disks they store their information on are not aging well. In this post I will be installing a Gotek Floppy Emulator into an external 3.5" floppy drive case to solve this problem.
I originally wrote and posted this article on Amiga Retro Computing.
When I got my new old Amiga 500, I was fortunate enough to also acquire a Gotek Floppy Emulator. The Gotek basically stores images of floppy disks on a USB drive. Many legacy devices like music keyboards, knitting machines, embriodery machines, cnc machines, etc uses 3.5" floppies that are hard to come by as well as failing floppy drives.
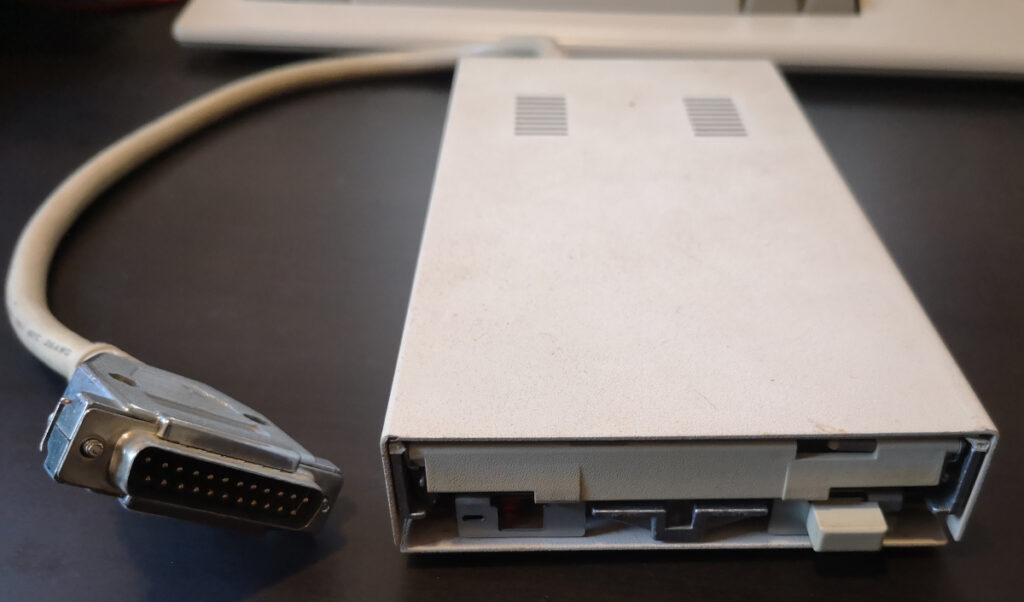 Having a Gotek Floppy Emulator that stores a multitude of Floppy - ADF (Amiga Disk File) images - is certainly a help both storage and failing floppies and drives. But I would prefer to have an original, physical floppy drive in my Amiga 500. So I managed to get hold of an external slimline drive which has a supposedly working drive that is missing a front.
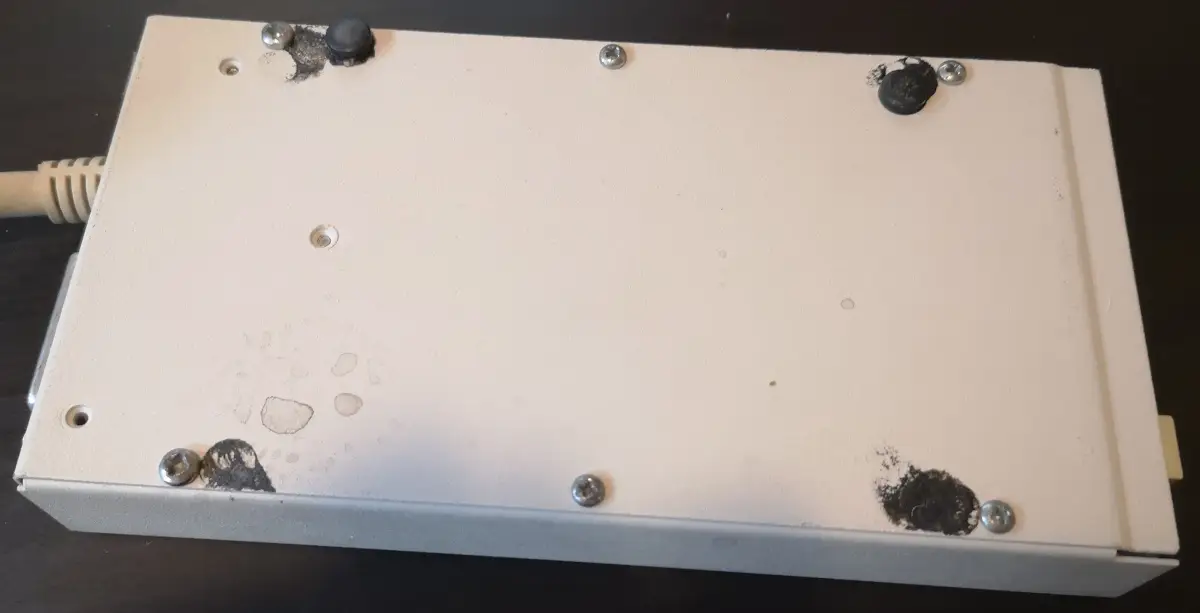
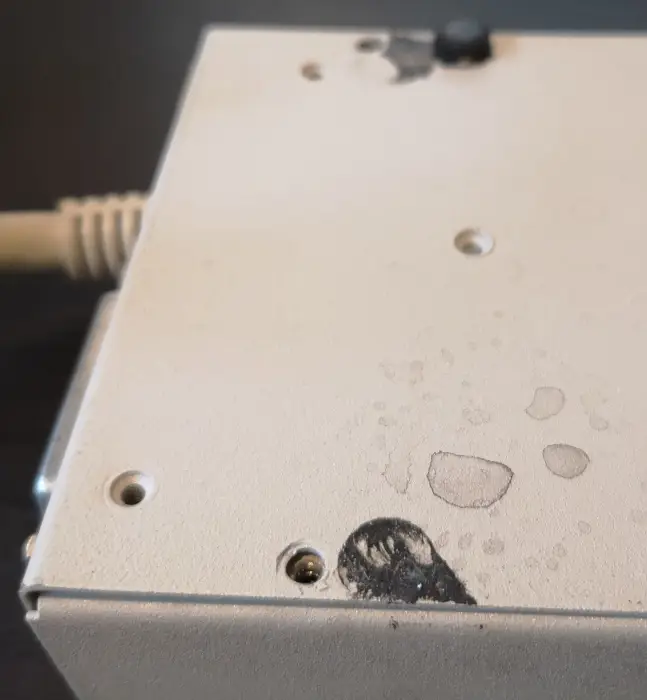
Taking the drive apart
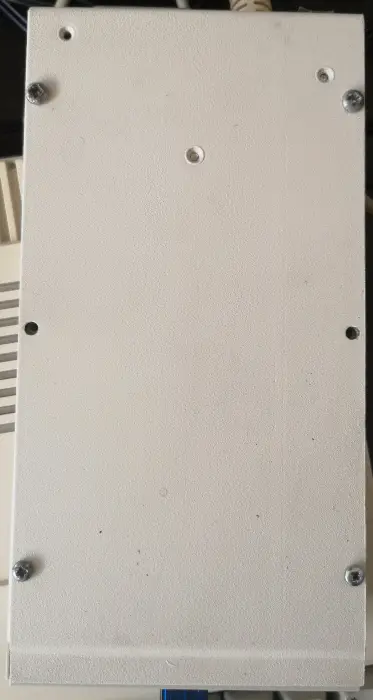
I began by taking the external drive apart. The drive case is made entirely out of metal. On the bottom are 6 screws and a few worn out rubber feet. The six screws do not match. I need to replace the rubber feet and two of the screws so that they match.
I cleaned the external case as well as I could with both rubbing alcohol and IsoPropyl Alcohol (IPA). The IPA was better at removing the remaining gunk from the rubber feet as well as cleaning the metal casing.
The drive is supposedly working but using it before taking it apart I did get reading errors. This might be because of the floppies ageing or the drive having a fault or a combination of both. I am going to save the drive and have a closer look at it later. It probably needs a cleaning of both mechanical parts and the heads. The internal drive exhibits similar problems so I will probably do both at the same time.
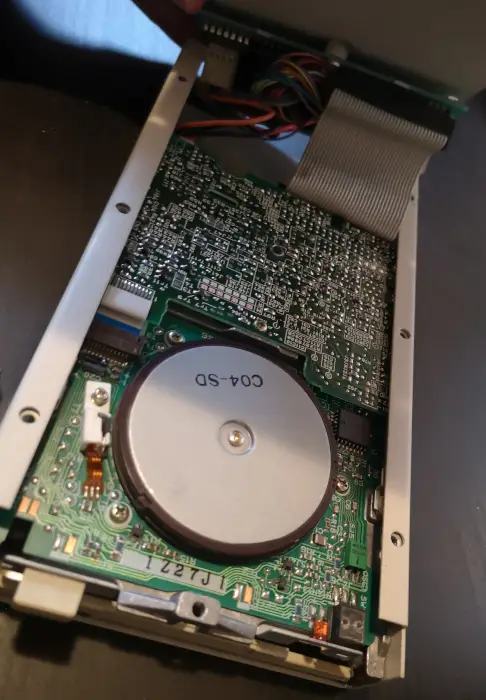
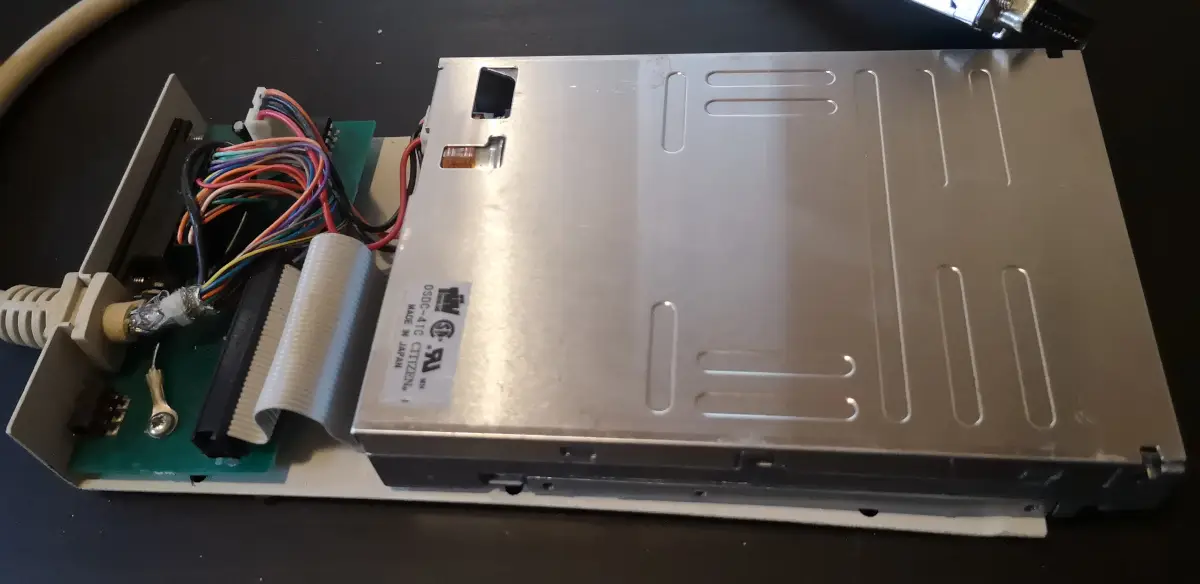
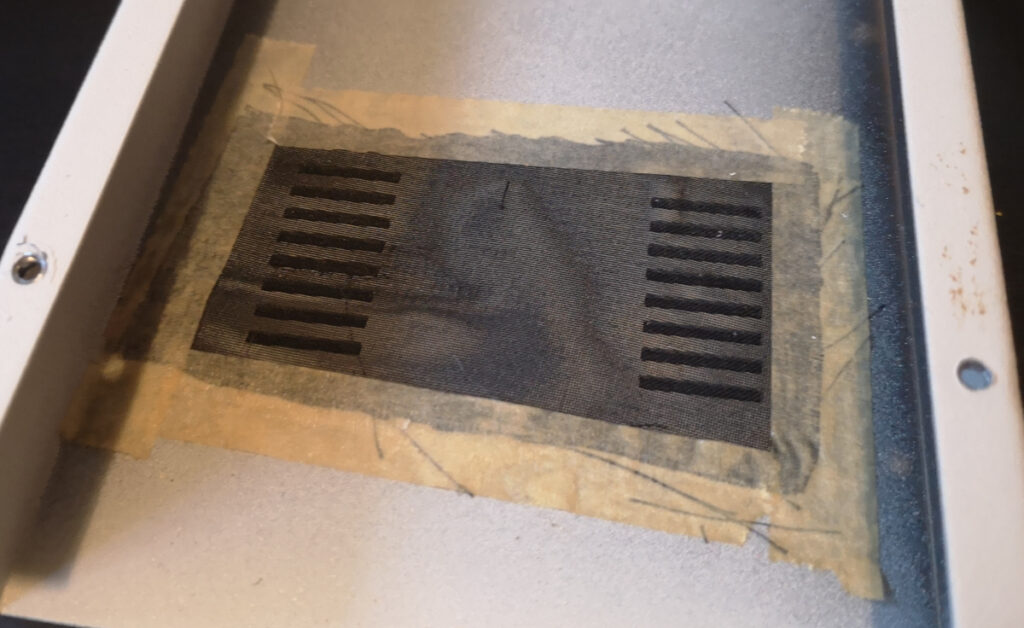
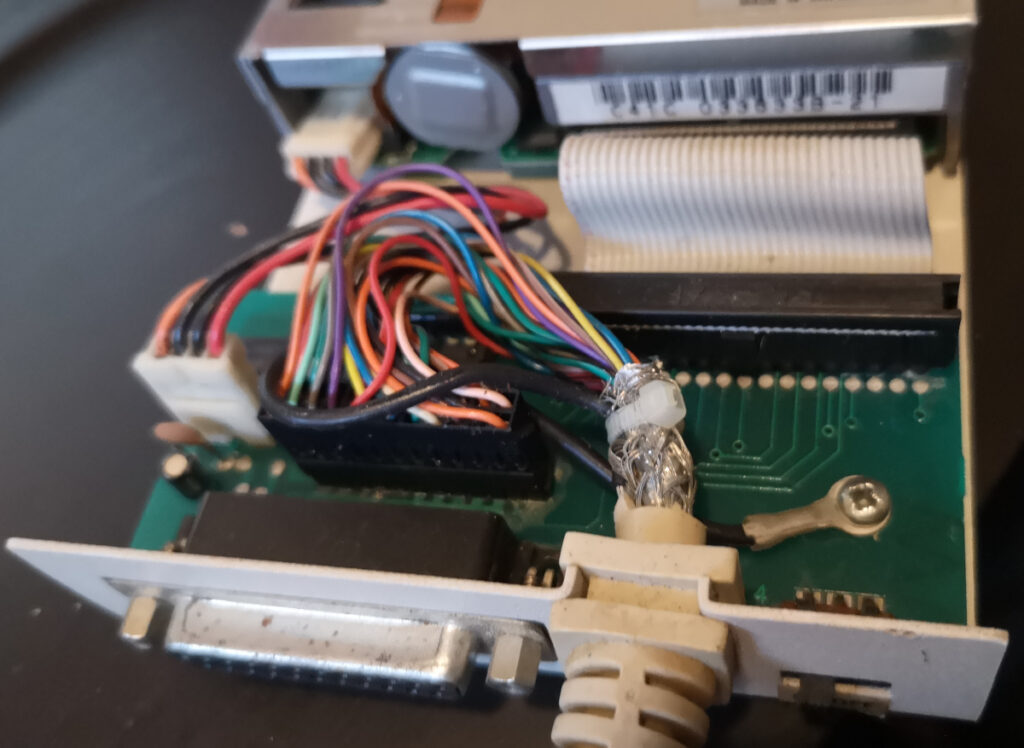
I took the external drive apart and removed the pcb inside the casing and cleaned both pcb, casing and the cable that connects the drive to the computer. after cleaning it I remounted the pcb and connected the external cabling.
Putting the Gotek Floppy Emulator into the external case
I connected the power and data cables to the Gotek drive and reassembled the drive and connected it to the Amiga and powered on the computer.
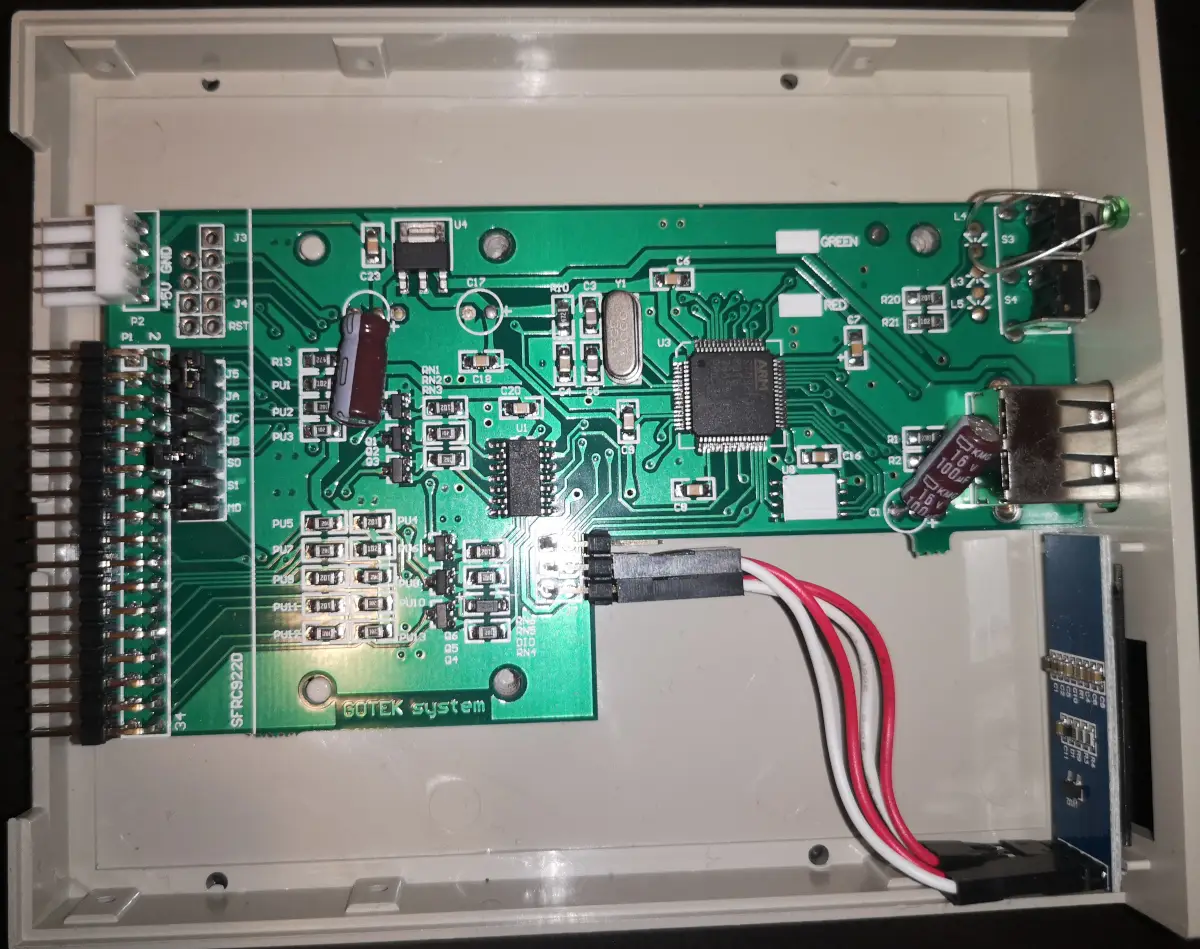
This Gotek has an oled screen and it seemed to power up and read the USB drive. I could switch between the floppy images but the AmigaOS could not recognise the floppies. When changing image, AmigaOS recognised the change but could not read the floppy image.
Troubleshooting the setup
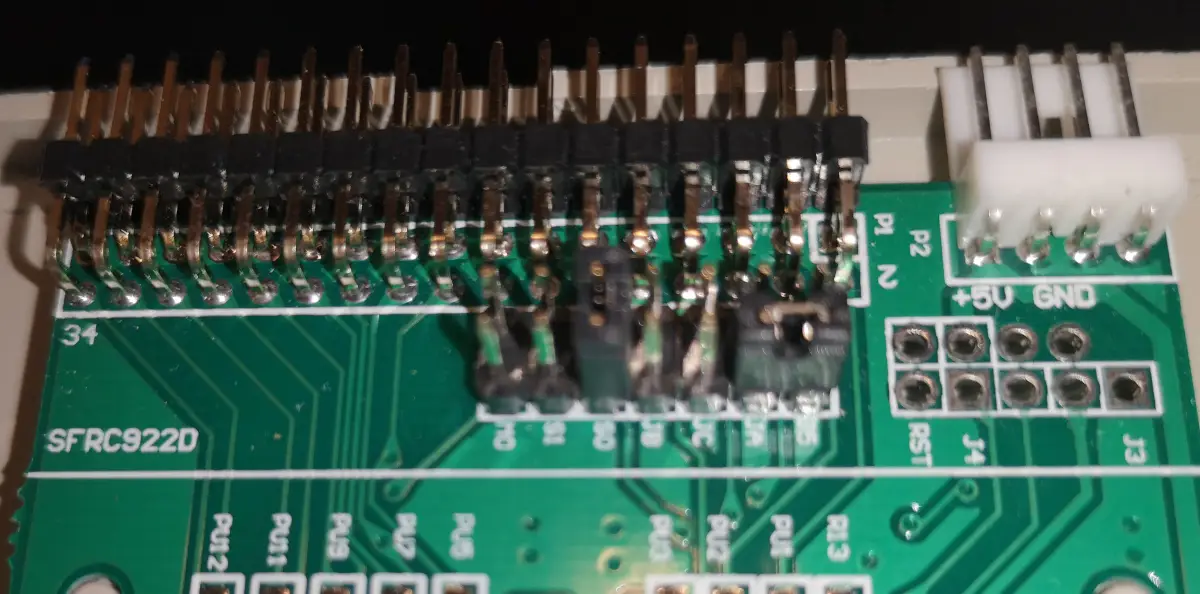
I took the drive apart and even took the Gotek drive apart. The Gotek had two jumpers mounted. One connecting S0 and one across JA and J5. I am not sure that the JA/J5 jumper did anything but I removed it just in case. I could always reseat it. S0 is the drive select. Most external drives are setup such that the controller pcb handles the drive select pin but not all. It could need a jumper at S1 or no jumper at all, so I tried both. Removing the jumper from S0 did not make much of a change but setting it at S1 the internal drive seemed to lock up. Where it struggled to boot on a floppy it was now silent. So I reseated the S0 jumper.
Having the right configuration files
The oled display on the Gotek not only shows the floppy image index name and file name but also the current track number and side. I noticed that with most of the floppy images the track display showed track no. 3 but never progressed. This is unusual as most Amiga floppies start by reading from Track 40. But one floppy image file was different - the AUTOBOOT.HFE.
That made me think it was down to a configuration so I did some research and it appears that when using a Gotek drive with a FlashFloppy firmware, no configuration files should be necessary. I checked the USB drive root and here was two configuration files FF.CFG and HXCSDFE.CFG. Rather than trying to figure what to change I decided to move the configuration files off the USB drive to another drive to preserve it. I moved all of the files off the USB drive and moved just two floppy images back on the drive, a Workbench 1.3.3 and the matching Extras image. As I rebooted the Amiga the internal drive still struggled reading the Workbench physical floppy but the Gotek drive worked beautifully.
Final result
I put the external - now Gotek - drive back together again and this is the result:
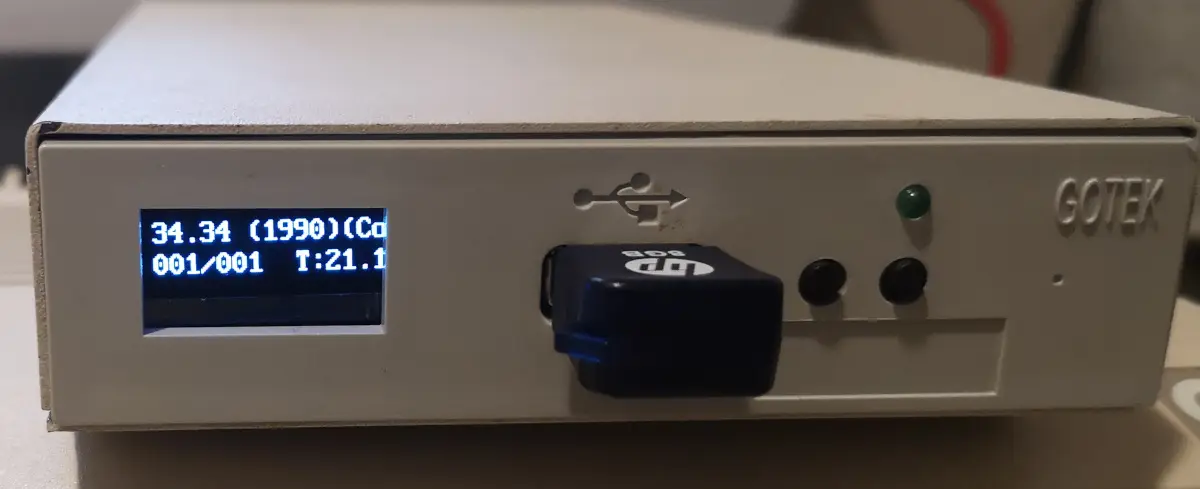
I still need to find some replacement rubber feet and replacement screws but it seems that this is a successfuly completed project!
 FlashFloppy was created and is maintained by Keir Fraser. You can find it on the FlashFloppy GitHub repository.