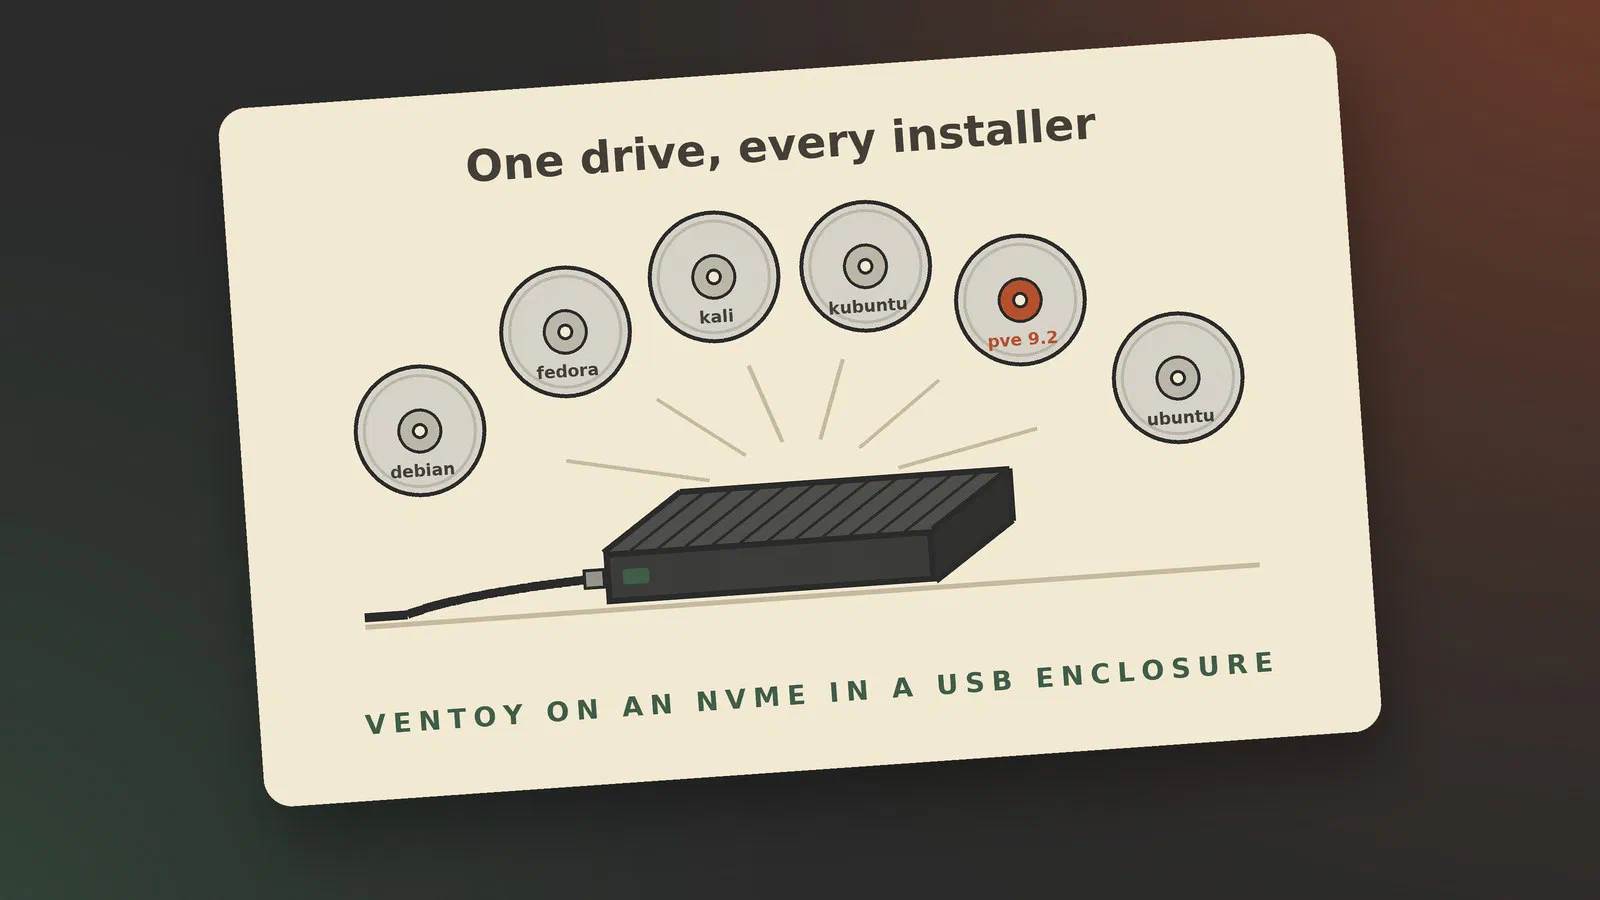
When I installed Proxmox on my newest server, I didn’t write the installer to a USB stick. I picked it from a menu on a small drive that holds every installer I use. That drive runs Ventoy, and this post is about how it works and how I set it up.
What Ventoy is
Ventoy is “an open source tool to create bootable USB drive for ISO/WIM/IMG/VHD(x)/EFI files” [1]. You install it on a drive once. After that, you copy ISO files onto the drive like any other files, and when you boot from it, Ventoy shows a menu of them. Pick one, and it boots.
There is nothing to write or unpack per installer. A new version of Debian or Proxmox is one more file to copy across, and the old one can stay next to it until you are sure you don’t need it.
According to the project, more than 1,400 image files have been tested, and it boots over 90 % of the distributions listed on DistroWatch. It works with both old BIOS and UEFI firmware [1].
Why an NVMe drive in an enclosure
Ventoy can be installed on a USB stick, but also on an SSD, an NVMe drive or an SD card [1]. I use a small M.2 enclosure with a 256 GB NVMe drive I had lying around, connected over USB.
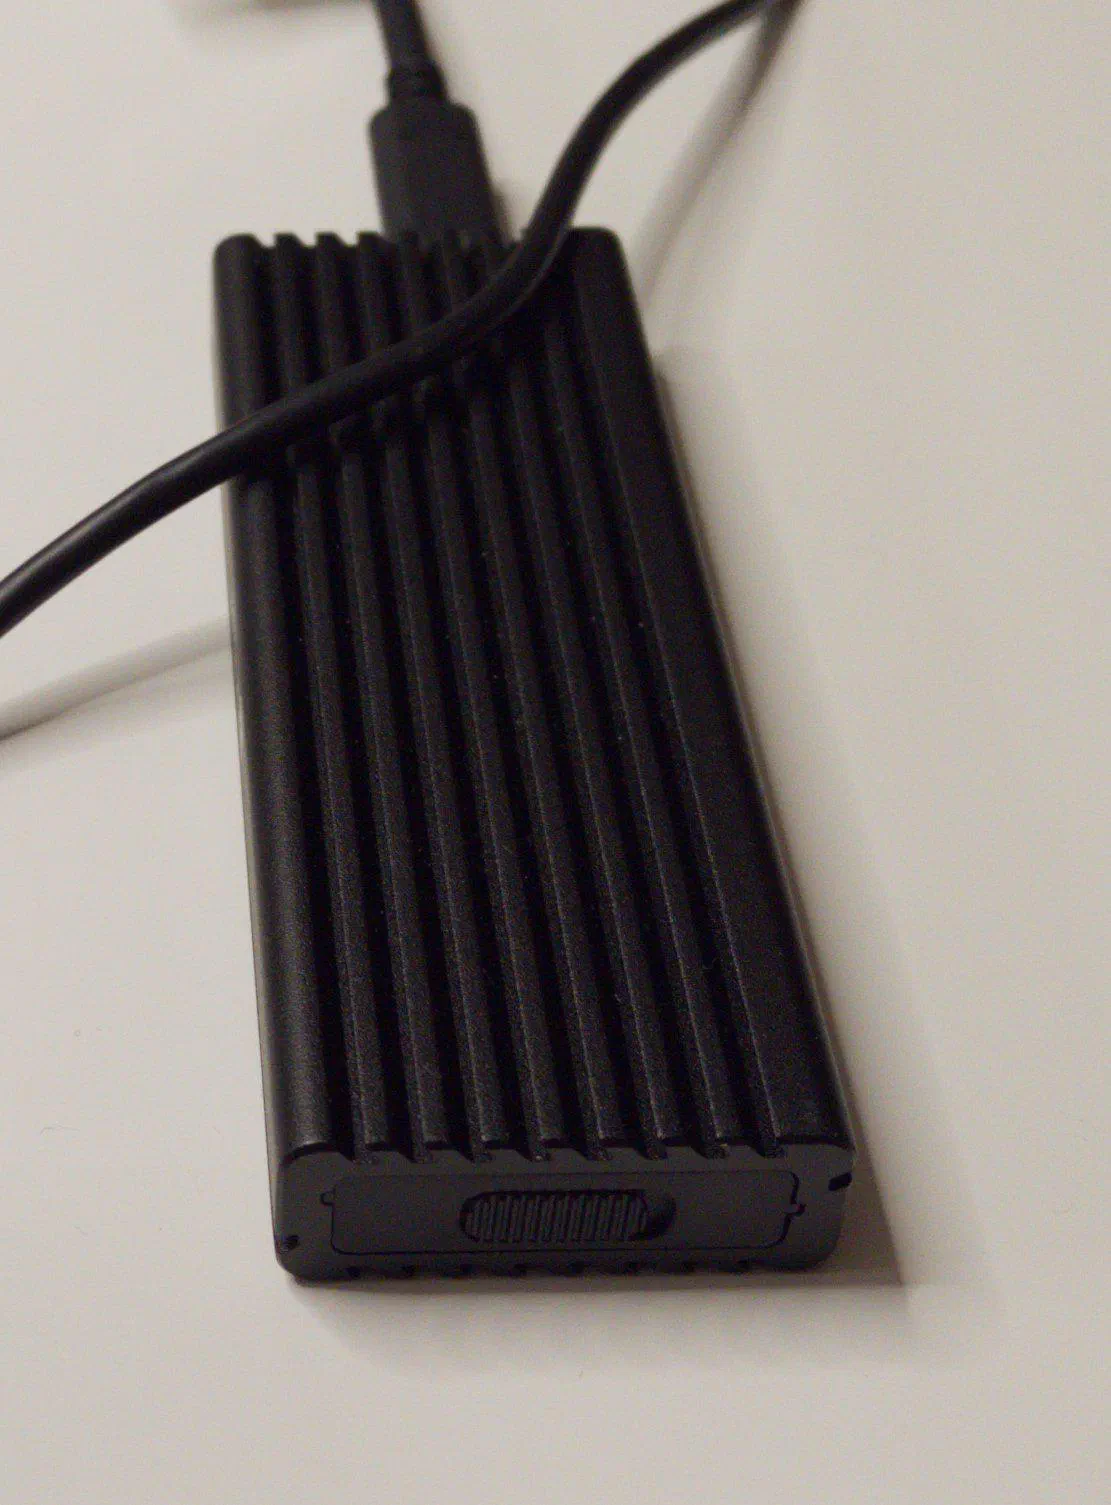
I don’t have any special reason for using an NVMe in an enclosure like this other than it was what I had available, and it is faster than the 16 or 32 GB USB stick I have in a drawer somewhere. So more space (256 GB) and a lot faster - even though I think the USB sticks are USB 3.0 - or rather as it is now known USB 3.2 Gen 1 - and thus in theory 5 GBit/s, the flash inside those USB sticks is a lot slower.
I have thought about getting a larger NVMe - like 2 or 4 TB - and put it into the enclosure to use it for an external drive for phoebe or priscilla - it could hold either our family photos or the media collection for Jellyfin - but would set me back about DKK 2000 (about USD 300) and a 4 TB from DKK 3700 - USD 550 - and up. Both of those would do a lot better directly replacing the current 1 TB (phoebe) and 2 TB (priscilla) NVMes, as most of the bandwidth and IOPS gets lost in the PCIe (m.2) to USB controller.
Setting it up
Be careful here: installing Ventoy erases the drive. “The USB drive will be formatted and all the data will be lost after install.” [2]
On Windows, unpack the download, run
Ventoy2Disk.exe, pick the drive and click Install. By default it only lists USB drives, which is a sensible safety net [2].On Linux there is a graphical installer and a web interface, or the script, run as root [2]:
sudo sh Ventoy2Disk.sh -i /dev/sdXReplace
sdXwith your drive, and check it withlsblkfirst.
Ventoy splits the drive in two. The first partition is exFAT, and that is where your ISO files go [2].
I installed it from Linux with the script.
Updating Ventoy later uses the same tool with Update (or -u), and
leaves the files on the first partition alone: “the upgrade operation
is safe” [2].
Adding ISO files
Copy them onto the first partition. That is all. Ventoy searches the whole partition, folders included, and lists what it finds alphabetically [2].
My drive currently holds Debian 13, Fedora KDE, Kali, Kubuntu and Ubuntu 26.04, and a shelf of Proxmox products: Proxmox VE 9.1 and 9.2, Proxmox Backup Server, Datacenter Manager and Mail Gateway.
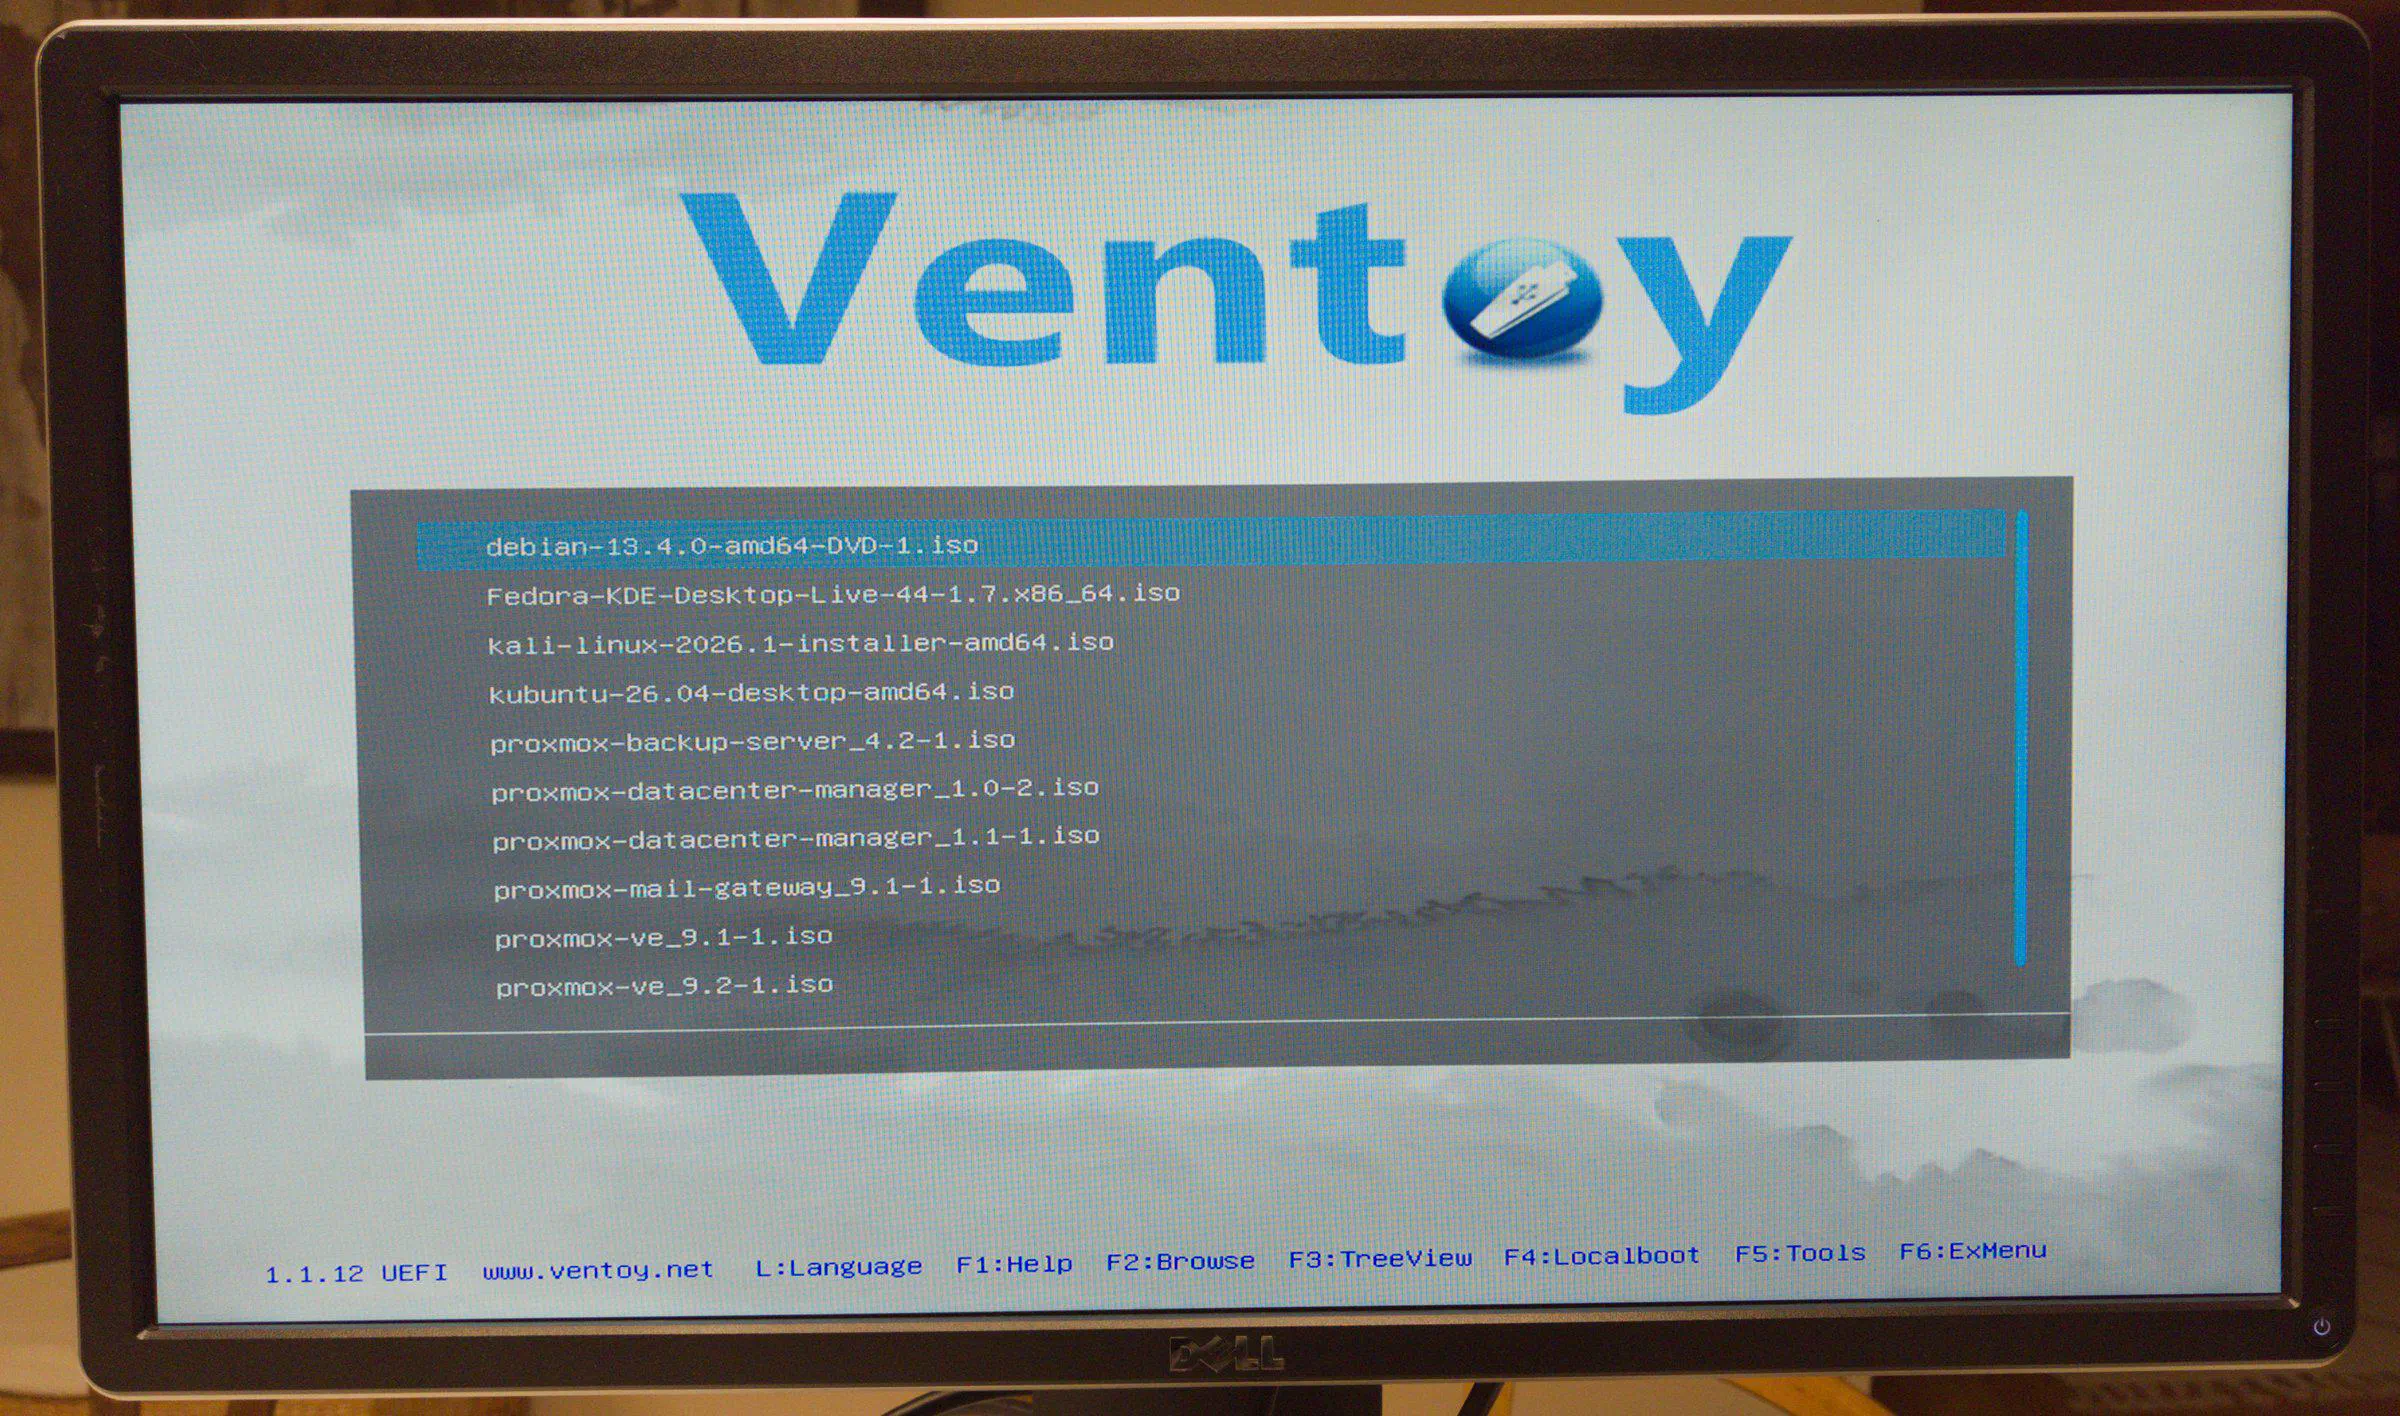
Booting: normal mode and GRUB2 mode
When you pick a file, Ventoy asks how to boot it. Boot in normal mode is the default, and it presents the ISO to the computer as if it were a CD [3]. That is what I used for the Proxmox VE 9.2 installer, and the installer started as normal.
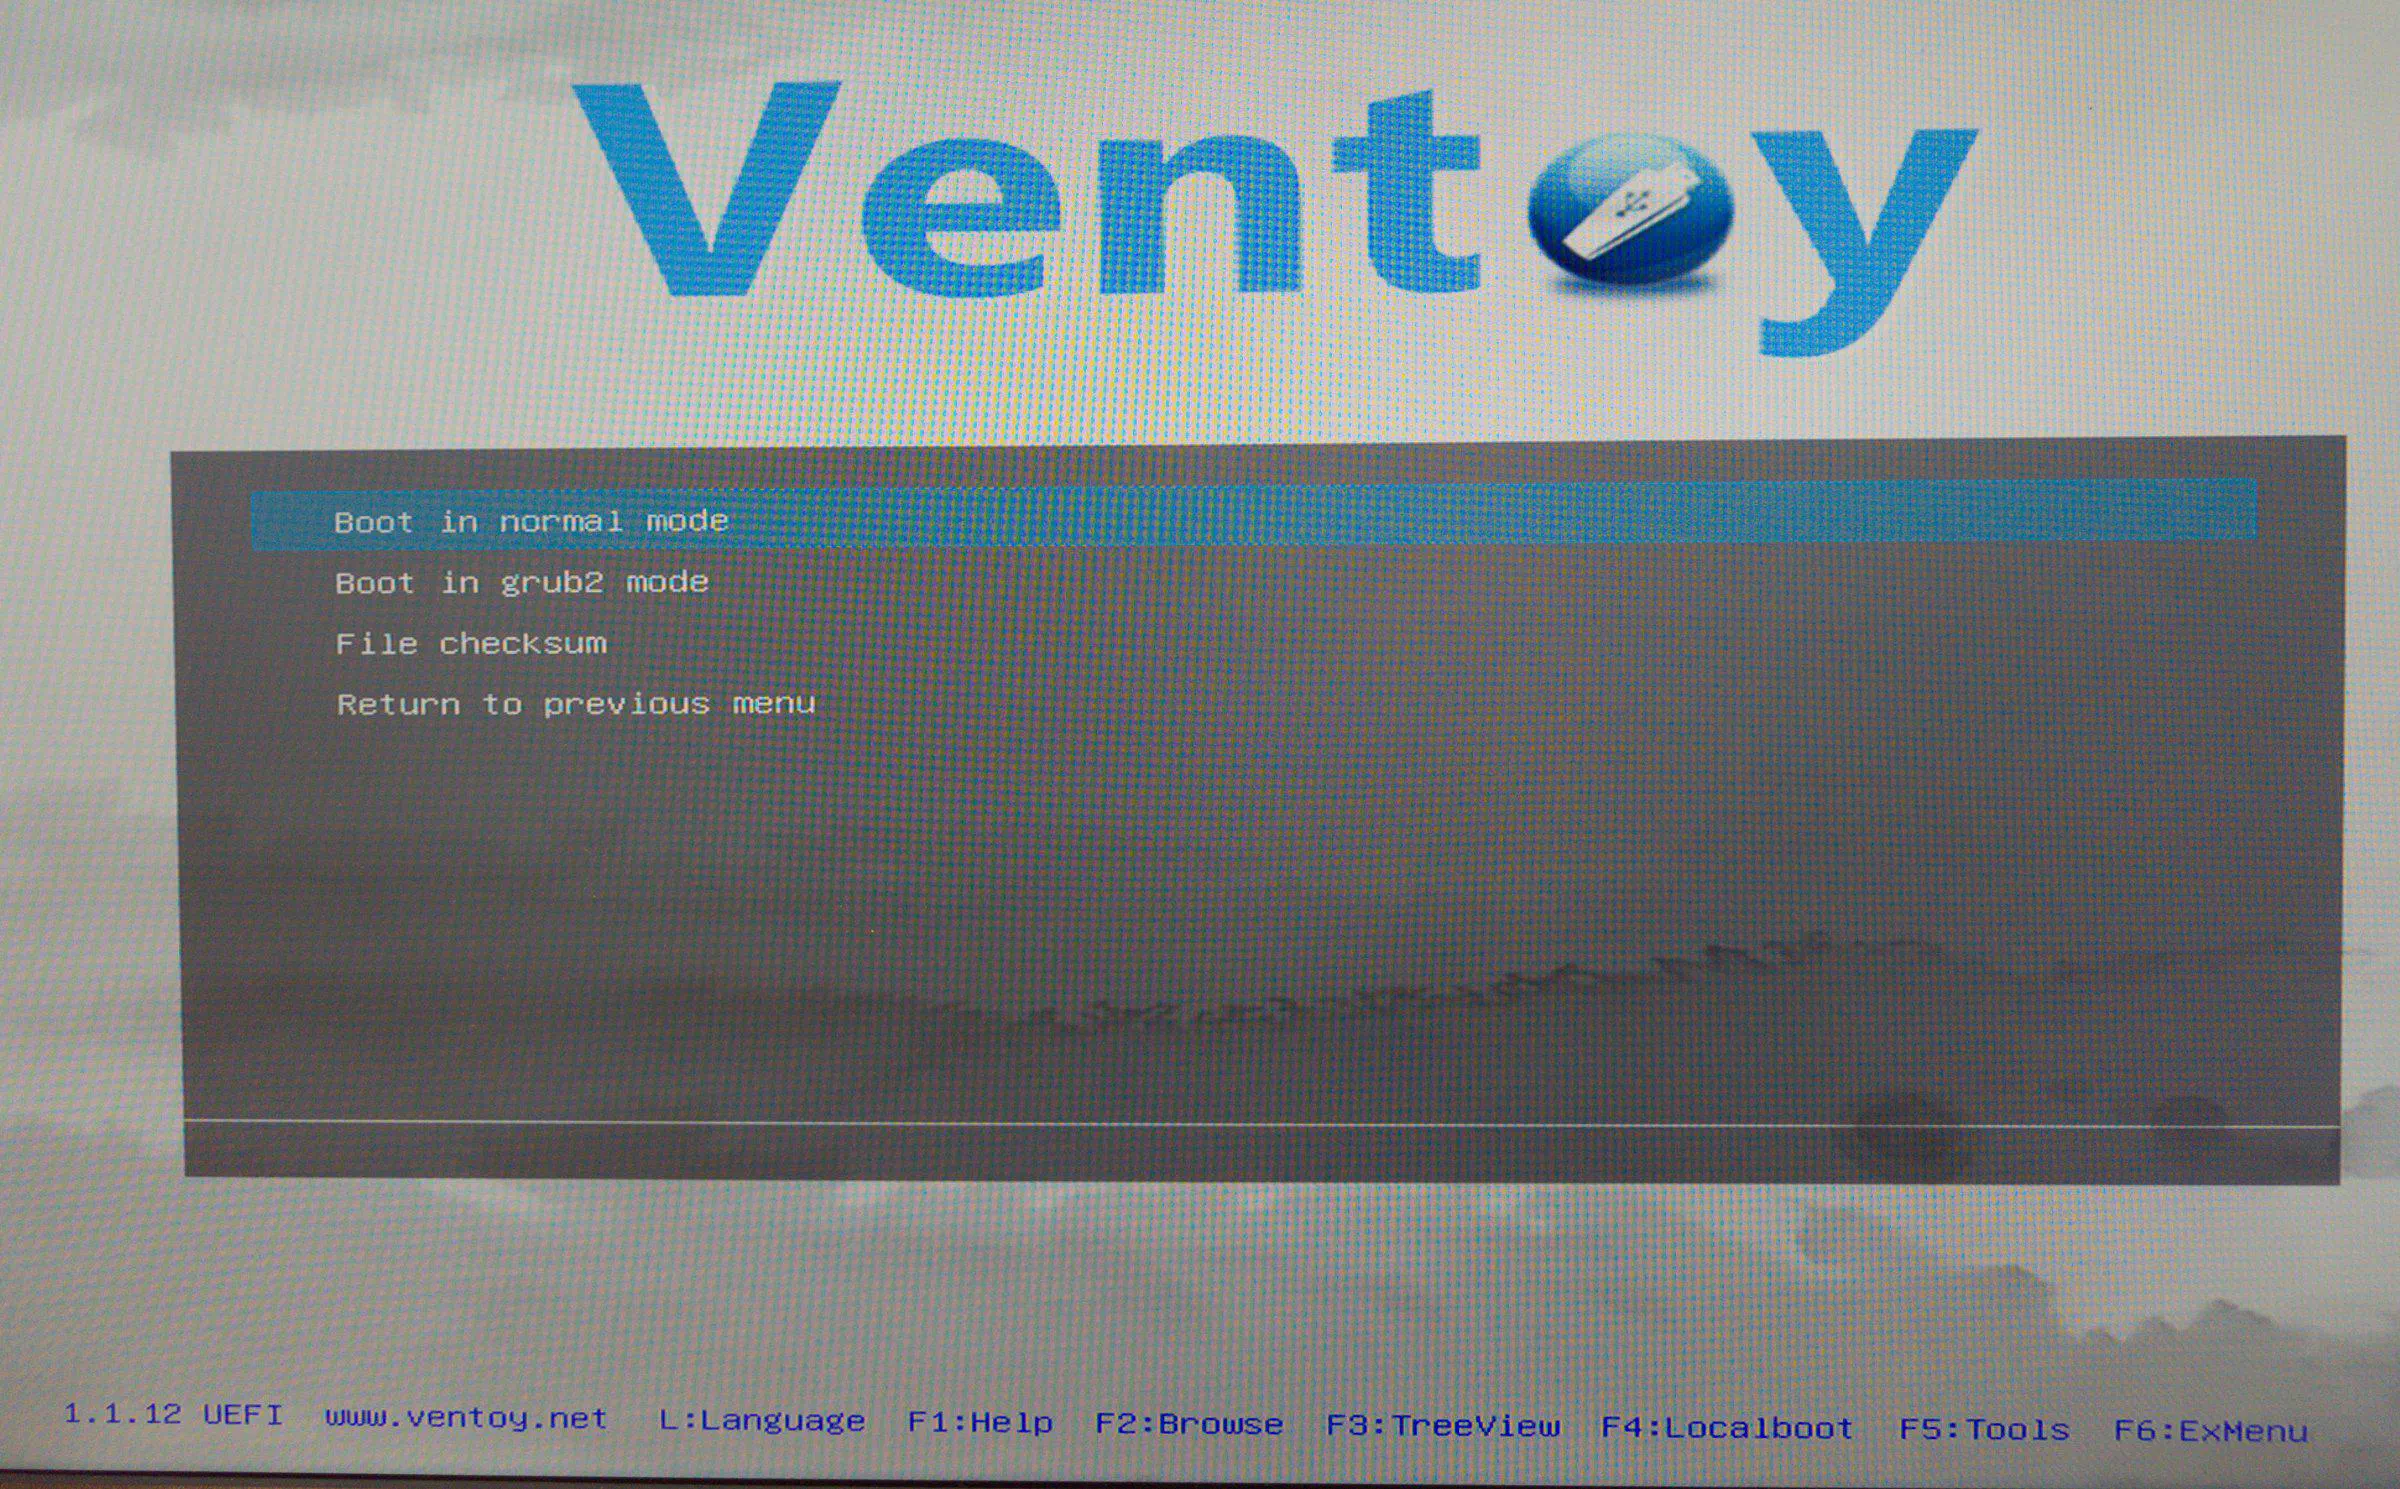
Boot in grub2 mode is the fallback for Linux ISOs that won’t start
the normal way. It only works for Linux images with a GRUB2
configuration of their own, and the advice is to “use GRUB2 mode only
when you run into problem with the default mode” [3]. You
can also press r in the main menu to switch to it [3].
The same menu has File checksum, which is handy for checking that a download wasn’t damaged before you install from it.
Secure Boot
Ventoy has supported Secure Boot by default since version 1.0.76. The first time you boot it on a computer with Secure Boot switched on, you get a blue MOK screen where you enroll Ventoy’s key, once per computer. Some PCs also need Allow Microsoft 3rd Party UEFI CA switched on in the firmware first [4].
Two things worth knowing:
- Ventoy’s default is to let everything it boots past the Secure Boot check. If you want the check enforced, there is a setting for that in its global control plugin [4].
- From Ventoy 1.1.13 a new key has to be enrolled, because of Microsoft’s 2023 UEFI certificates [4]. Microsoft is replacing its Secure Boot certificates from 2011. The one that signs boot loaders from other vendors, which is what Ventoy relies on, expired in June 2026. Its replacement is “Microsoft UEFI CA 2023” [5]. It is part of the same changeover as the Windows certificate in my October Patch Tuesday post. My drive still has 1.1.12, so updating it to the current 1.1.18 [1] means going through the blue screen again on any computer that has Secure Boot on.
In my case Secure Boot was already off, so I didn’t see the blue screen.
When Ventoy doesn’t work
Most installers boot without trouble, and I haven’t run into one that fails yet, but not all of them do. If normal mode and GRUB2 mode both fail, or Secure Boot gets in the way, the fallback is the plain way: write the ISO to a USB stick on its own. I describe that for the Proxmox installer in Setting up a Proxmox Virtual Environment server.
Sources
- Ventoy (ventoy.net): what it is, features, version 1.1.18 of 2026-10-09, pulled 2026-10-19, rechecked 2026-10-29
- Get Started (Ventoy documentation): installing on Windows and Linux, updating, the partition layout, pulled 2026-10-19, rechecked 2026-10-29
- GRUB2 mode (Ventoy documentation): normal mode vs. GRUB2 mode, pulled 2026-10-19, rechecked 2026-10-29
- Secure Boot (Ventoy documentation): the MOK key, the firmware setting, the new key from 1.1.13, pulled 2026-10-19, rechecked 2026-10-29
- Windows Secure Boot certificate expiration and CA updates (Microsoft Support): which 2011 certificates expire when, and their 2023 replacements, pulled 2026-10-29