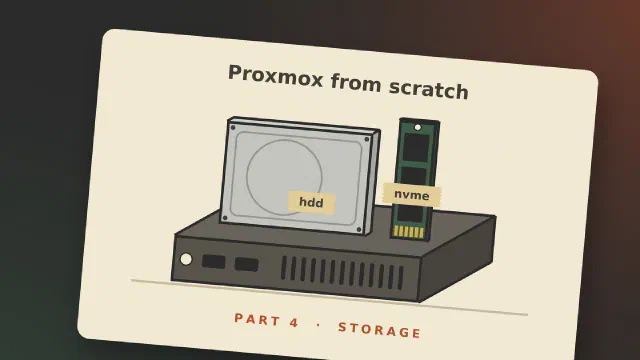
This is the fourth part of Proxmox from scratch. In part 2 and part 3 we created a virtual machine and a container, and both times I put their disks on a storage called vmdatanvme and promised to explain it later. This is later.
The post has two halves. The first is a tour: how Proxmox thinks about storage, and the kinds it can use, from a folder on the server’s own disk to Ceph spread over several servers. The second is what I do on my own servers, and here there is a twist. In part 7 my servers become a cluster, and in part 8 guests move between them. For that to work, the storage has to be set up the same way on every server, and that is easiest to get right now, before there is a cluster.
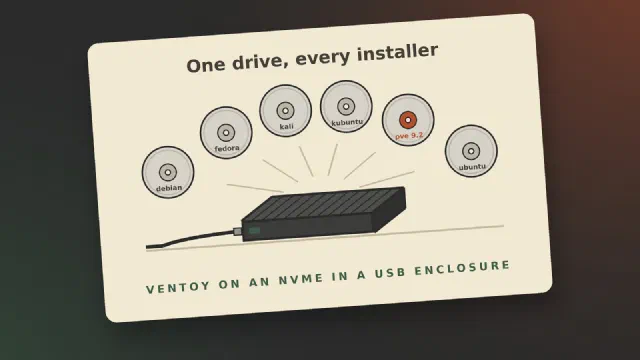
When I installed Proxmox on my newest server, I didn’t write the
installer to a USB stick. I picked it from a menu on a small drive that
holds every installer I use. That drive runs Ventoy, and this post is
about how it works and how I set it up.
What Ventoy is
Ventoy is “an open source tool to create bootable USB drive for
ISO/WIM/IMG/VHD(x)/EFI files” [1]. You install it on a
drive once. After that, you copy ISO files onto the drive like any
other files, and when you boot from it, Ventoy shows a menu of them.
Pick one, and it boots.
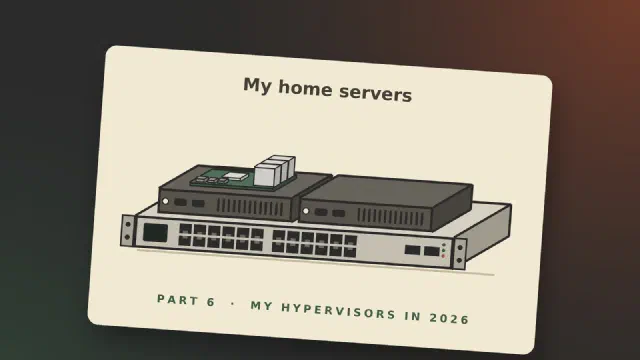
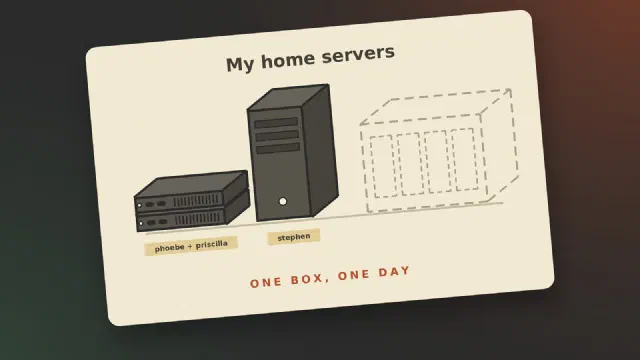
The last two parts of this series were about getting here: a new Proxmox server, and the one big box I would build if I could. This part is about what I actually have. Three machines, what each one is for, and how they are going to work together.
From one big server to three small ones
This series started with an HP ProLiant ML150 G6 from 2009 and the Smart Array controller I put in it. Two years ago I took stock of what I had. The ML150 has since been retired and is gone.
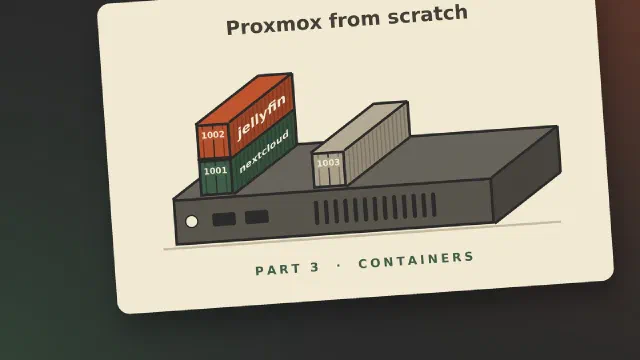
This is the third part of Proxmox from scratch. In part 2 we created a virtual machine. This time we make the other kind of guest, a container, and I show how I run my own services in them.
The container in this post is a real one: the one that will run Jellyfin on my main server, phoebe, in the coming Jellyfin at home series. The screenshots are from the evening I created it.
Having a homeserver lets you host your own services. There are a lot of
ways to do this. This post explains what a hyperconverged hypervisor
is, why I want one, and why I don’t have one yet.
I do not have the luxury of buying new specific hardware that fits the
jobs I am looking to solve. I often have to make do with 2nd (or even
3rd) hand hardware to be able to have the systems that run both my
business as well as protect our personal data such as photos and
important documents.
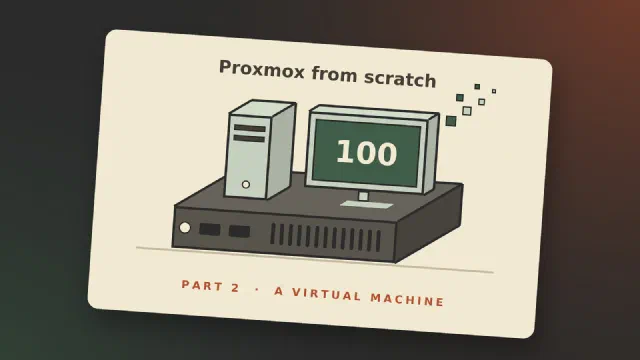
This is the second part of Proxmox from scratch. In part 1 we installed Proxmox VE on a small PC. Now we put it to use and create the first virtual machine.
A virtual machine, or VM, is a whole computer made of software. It has its own virtual disk, memory, processor and network card, and you install an operating system in it the same way you would on a real PC. That makes it the right place for things you don’t want on your own PC, like a test build of a desktop that may well have bugs. That is what I install in mine: the testing edition of KDE neon. I chose it on purpose, because it lets me try the coming Plasma releases before they come out, without risking the desktop I use every day.
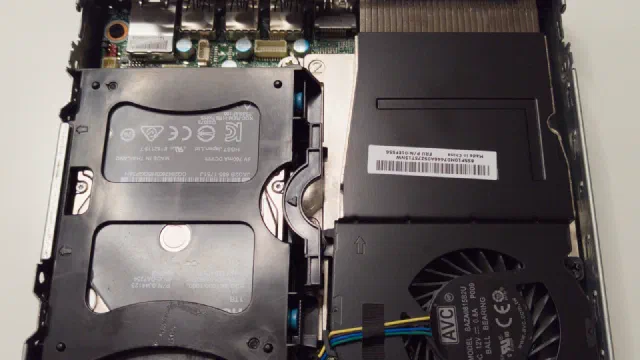
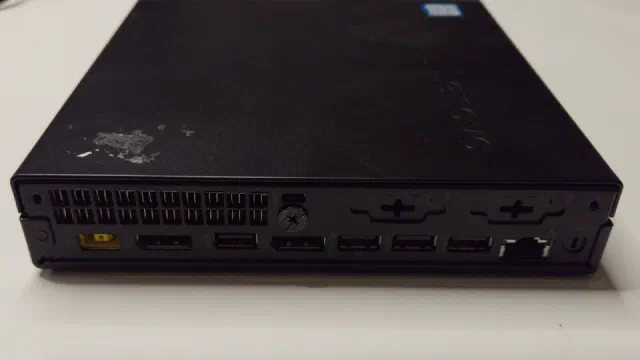
My main Proxmox server is called phoebe. It is a Lenovo Tiny PC with an AMD Ryzen 5 PRO 3400GE processor and 64 GB of RAM, and it runs a couple of LXC containers (Nextcloud among them) and a few virtual machines.
Its storage used to be an NVMe drive for booting and two spinning drives in an OpenZFS mirror: a 4 TB 2.5" hard disk drive inside the case and an 8 TB external drive connected via USB 3. That gave 4 TB of usable space, as the smallest drive in a mirror dictates the capacity.
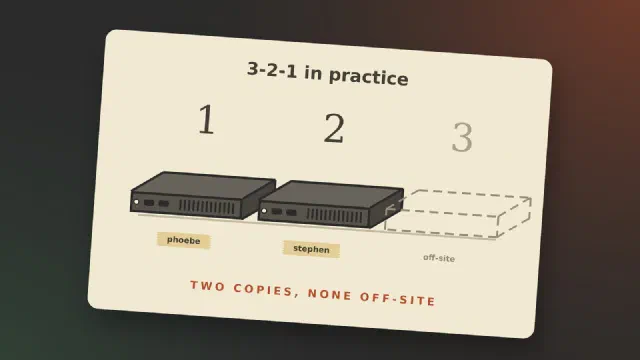
Most posts about backup explain the 3-2-1 rule and then show a setup that follows it. I can’t write that post yet. What I can do is go through the rule, hold my own homelab up against it, and show where it falls short today.
The 3-2-1 rule, briefly
Backblaze puts the rule in one sentence: “keep three copies of your data on two different media with one copy off-site” [1]. The three copies include the original, so it is the data you work on plus two more [1]. “Two different media” comes from the time of tape and CDs. Today Backblaze reads it as two different devices [1]. Off-site means a place that a fire, a burglary or a lightning strike at home doesn’t reach.
This is the first part of Proxmox from scratch. By the end of it you
have a server running Proxmox Virtual Environment, reachable from a
browser and up to date. The following parts build on it: virtual
machines, containers, storage, networking and backups.
Everything here is done on Proxmox VE 9.2, which came out in May 2026
[7]. If you find an older guide for version 8, be aware that
8 stopped getting security updates on 31 August 2026 [7].
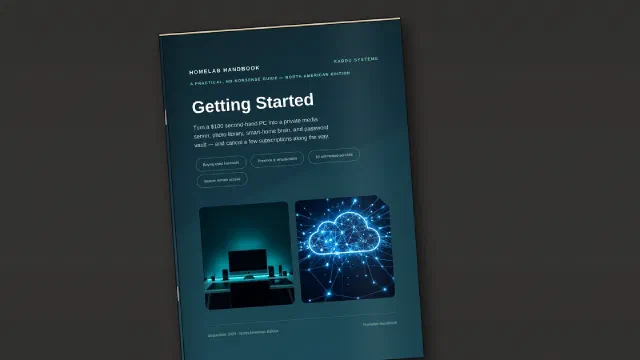
My first guide is out. Homelab Handbook: Getting Started is a
practical, no-nonsense handbook for turning an affordable used PC into
your first homelab, and it’s available now from the Kaddu Systems shop.
What it is and who it’s for
A homelab is simply a computer (or a few) that you run at home to host
services you’d otherwise pay someone else for, or hand your data to.
It can also be a playground where you can experiment and learn new skills, without affecting your production systems and important data.